Easy as 1-2-3
-
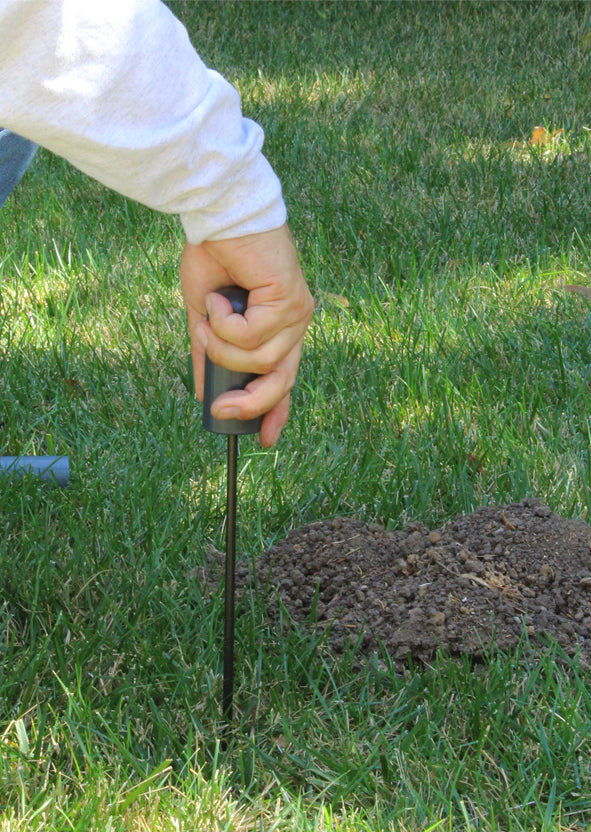
Probe for a Tunnel
Using the probe search around the mound to locate an active tunnel, found when the Probe pushes through the soil more easily.
-
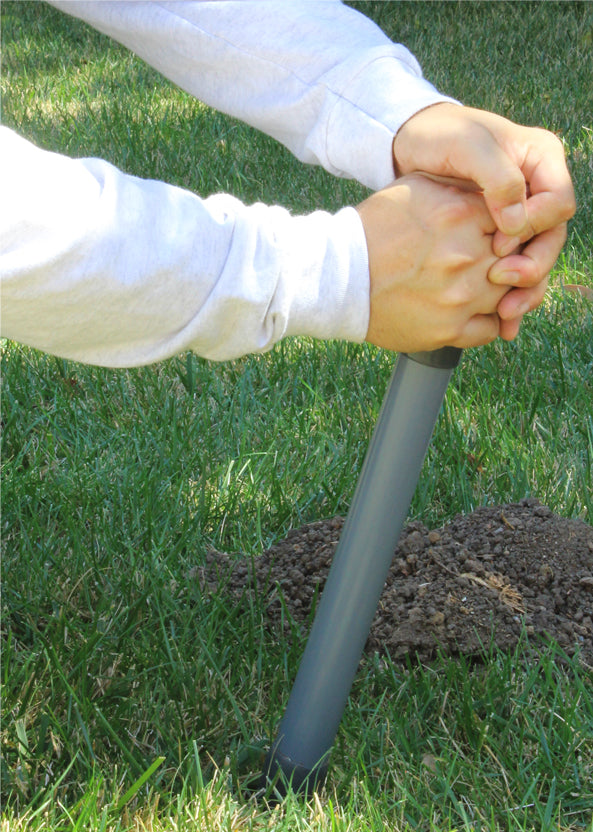
Then Create a Hole
The wedge tool can be used to open a hole from the surface down into the active tunnel, doing as little added damage as possible.
-
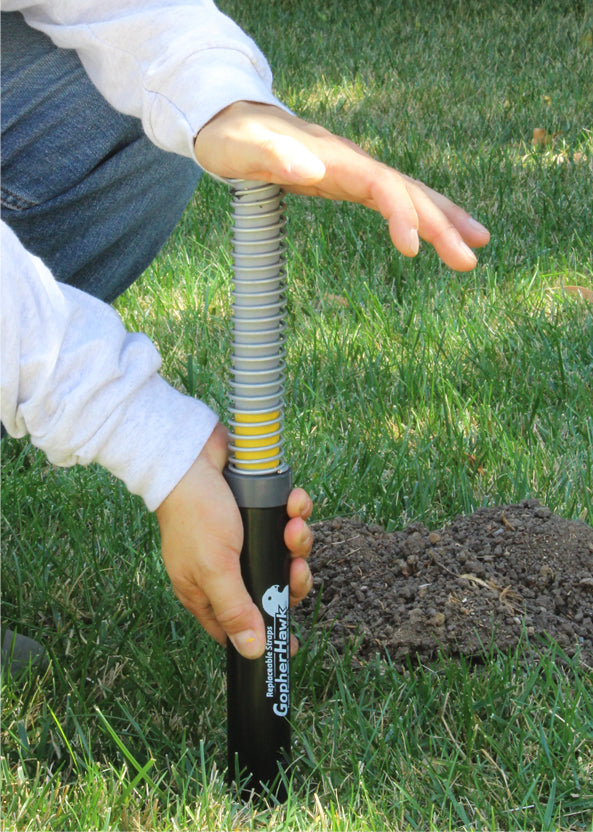
Place your Trap
Carefully ease the trap into the ground holding the black tube. Brace the cap and pull up the black tube until it locks in place to set the trap.


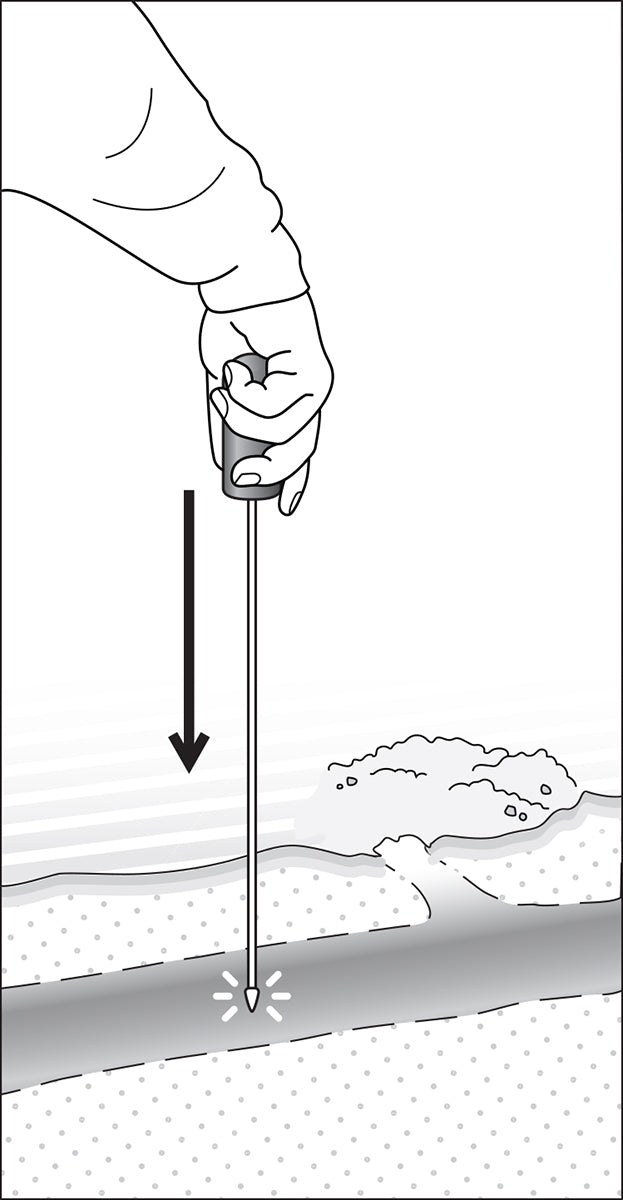
Tunnel
Probe
Looking for a fresh mound, use the probe to search an area 6-10 inches around the mound to locate an active tunnel. The tunnel is found when the Probe pushes through the soil more easily, with less resistance. Next use the wedge to enlarge the probe's hole.
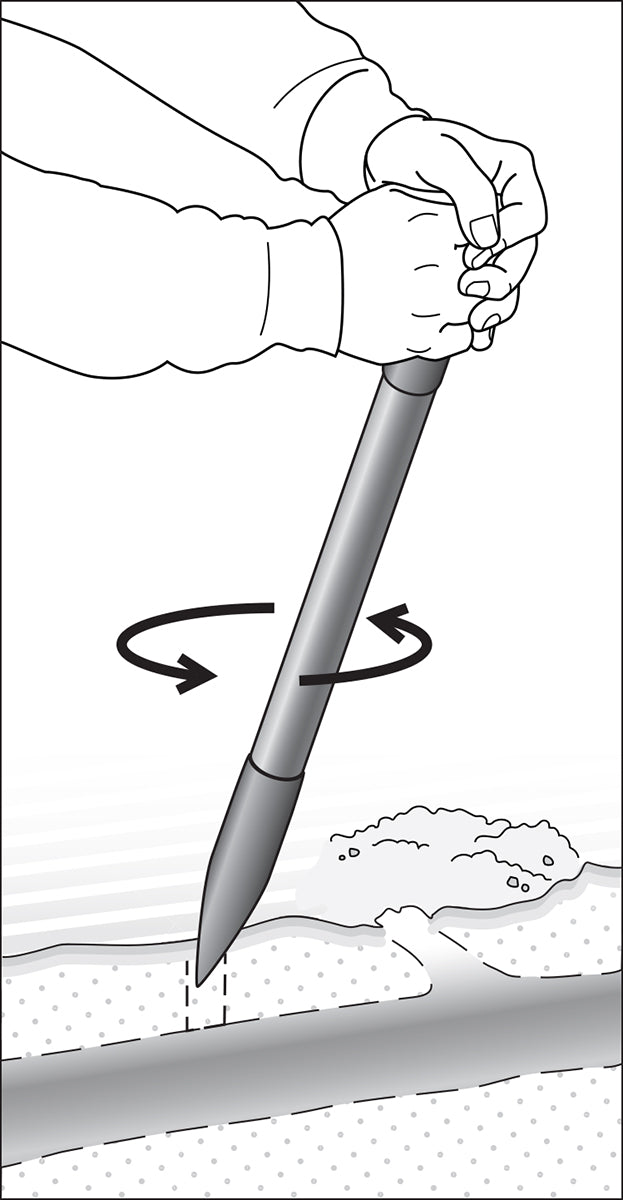
hole
Wedge
With the tunnel located the wedge tool can be used to open a hole from the surface down into the active tunnel. The wedge creates a hole for the trap to be placed in while doing as little added damage as possible. Stir the wedge point applying even pressure to burrow down into the pest tunnel.
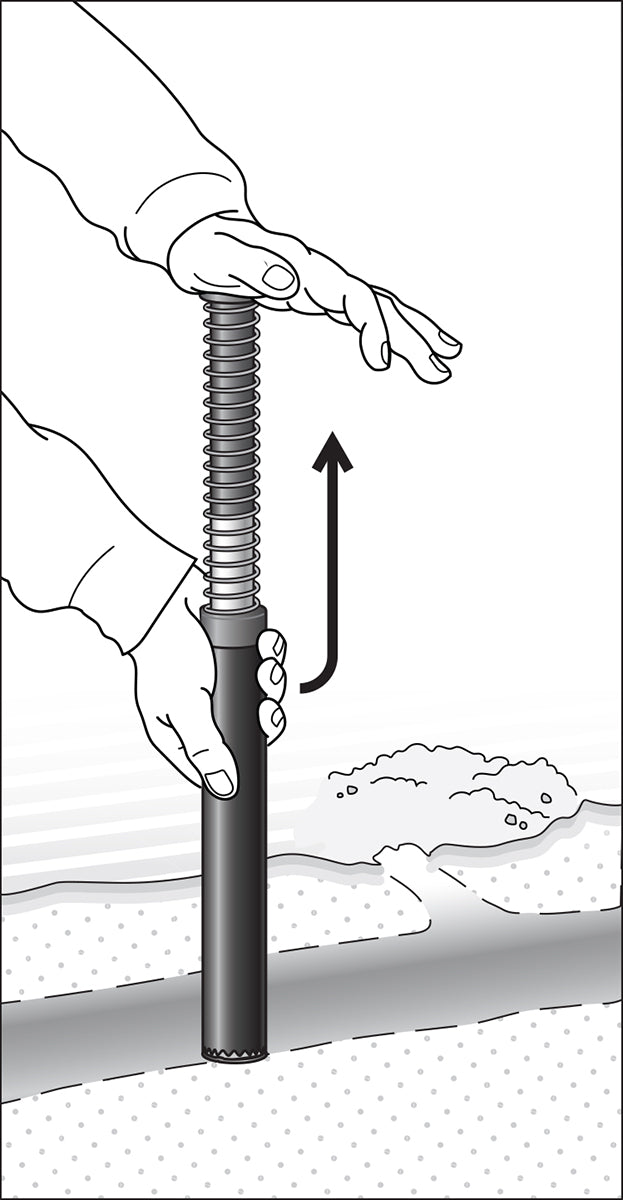
Place
Trap
Careful not to crush the straps, ease the trap into the ground holding the black tube. Insert the trap to the bottom of the tunnel then brace the cap and pull up. To set the trap pull up, compressing the main spring, until the black tube locks in place. Once set pack dirt around the trap to block light entering the tunnel.
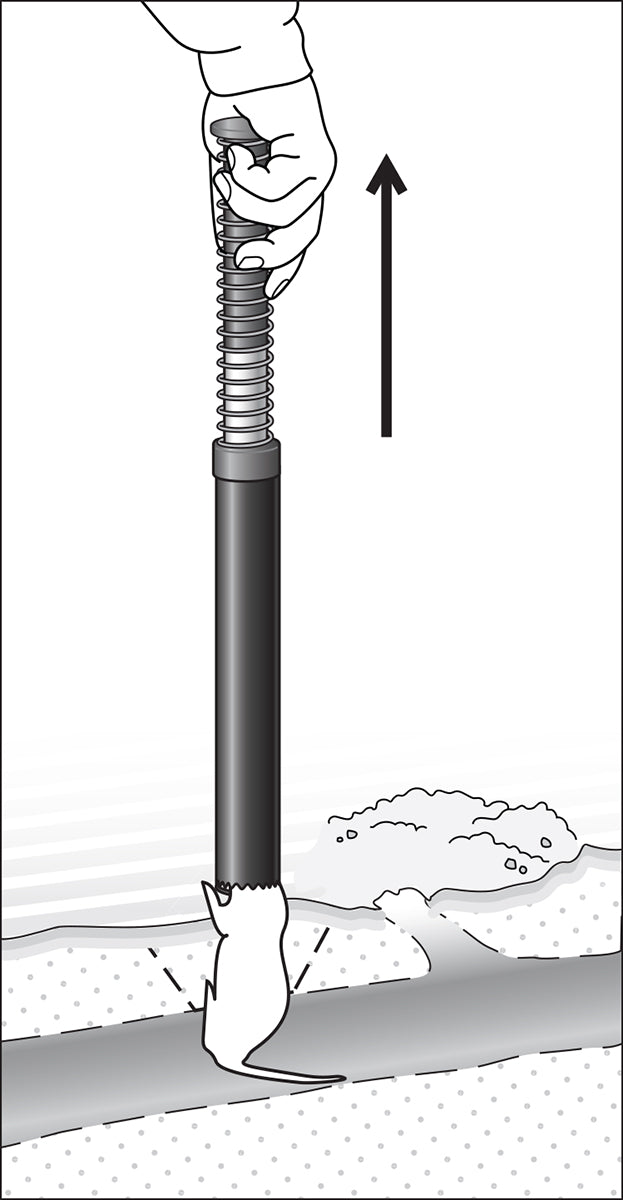
dispose
Pest
With the yellow catch indicator showing it is time to check your trap. Holding the spring end pull the trap and pest straight up out of the ground. Don't pry the trap, if necessary loosen hard dirt with a shovel. To release pull back slightly on the black tube and drop the pest from the trap without touching it.